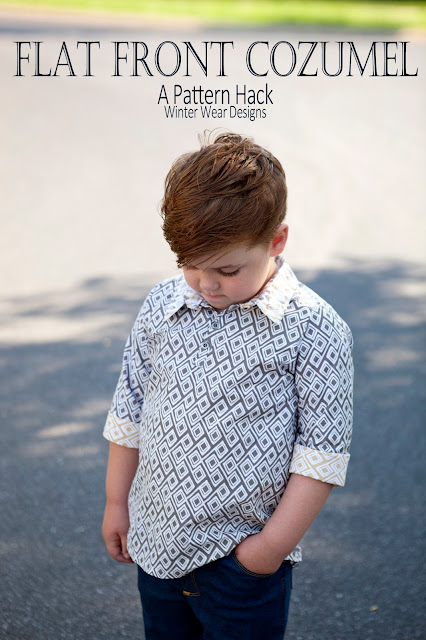
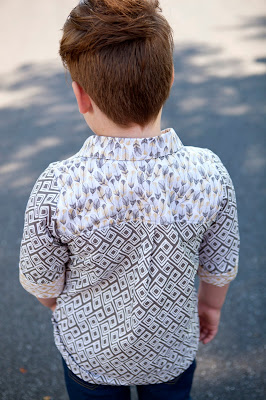
This hack is perfect if your boys aren't huge pintuck fans, or if you have fears of tackling pintucks, or if you are working with a busier fabric that will get lost or distorted in the pintucks. Today I am going to show you how to get rid of the pin ticks and make a flat front Cozumel. I'll show you how to make two back options as well, one with a center pleat and one flat back. And the options just keep coming!!!!
All righty, here's what you need for this hack:
- The Front Pattern Piece
- The Back Shirt Pattern Piece
- Marking Tool
- Ruler/Straight Edge
Tutorial:
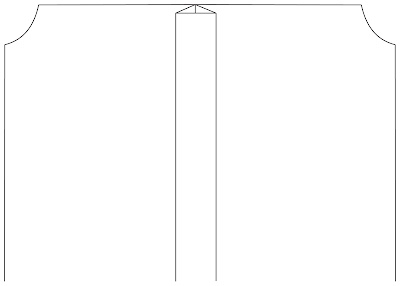
- Take your Front pattern piece and make a mark at the first pleat marking (closest to the neck opening).
- Measure from that point 1.5 inches across the shoulder and make another mark.
- Repeat at the bottom of the shirt.
- Connect the lines top and bottom.
- Fold the pattern together so that the lines meet up, pleating out the excess pattern.
- Use a piece of tape to hold the pattern together.( you can take the tape off later to cut a pintuck version).
- Take your back pattern piece, measure 1 inch in from center for the pleated back, or 2 inches in from center for the flat back option.
- Draw a line straight down and line the fold of your fabric up on that line to cut the back.
- Cut the remainder of your pieces and assemble according to the instructions skipping the pintuck section.
- *for the back pleat: fold wrong sides together and sew one inch in from the fold 1 inch down. Press the center of the fold toward the seam to make a box pleat and baste in place.
That's it - now you've got a flat front Cozumel to mix in with your pintuck ones. What I love about this hack is that is allowed me to use this great print from Hawthorne Threads that would have gotten lost a bit in the pintucks - WOHOOO!


